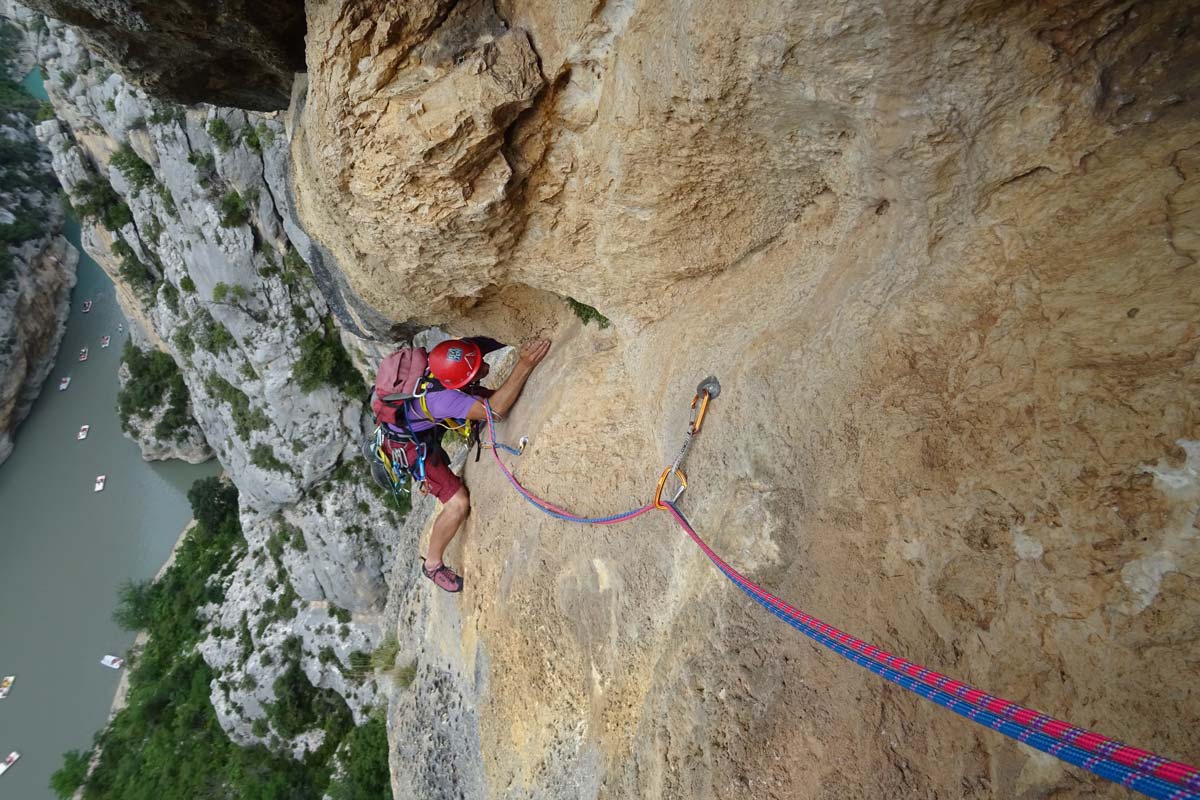
Your partner is in trouble (e.g., knot stuck in his rappel device, friction hitch has jammed, etc.)—he is stuck mid-rappel! The following steps will let you free him either from above or below.
Freeing your partner from above
1 — Reach your stuck partner by rappelling down the rope under tension.
2 — Stop approximately 1 meter above your partner.
3 — Make a safety knot in the slack rope below your partner. This knot will prevent slippage should anything go wrong.
4 — Using a long sling, install a counterweight system with foot loop on your friction hitch, to unweight your stuck partner’s rappel system.
5 — Once you’ve reduced the tension on the rope, free your partner (remove the stuck knot from the rappel device, modify the friction hitch, etc.).
6 — Untie the safety knot below. Your partner resumes his descent and reaches the next belay station or the ground. The rope below you is now unweighted.
7 — Finally, all the while attached to your friction hitch, remove your doublelocking-carabiner braking system, attach your rappel device to the rope and continue descending.
Freeing your partner from below
1 — Ascend the rope with a friction hitch, getting as close as possible to your stuck partner.
2 — Attach yourself to your stuck partner using a small sling and a locking carabiner.
3 — Make a safety knot below you to prevent slippage during the operation.
4 — Loosen your partner’s friction hitch. If necessary, clip a carabiner between the ropes above the jammed friction hitch then pull firmly down on it with a sling.
5 — Untie your partner’s friction hitch, and then untie the safety knot.
6 — Control your tandem descent (you and your partner). This is executed with your partner’s rappel device, which is backed up by the friction hitch you used to ascend the rope.
IMPORTANT: These two operations for freeing a partner from above or below described in this extract requires training under the supervision of a qualified instructor, while on the belay. The details of the techniques described herein are memory aids only, intended for people who have already practised these operations in the real world or in teaching situations.
This article is an extract from the Equipment ‘Tips and Troubleshooting’ chapter of the UIAA Alpine Skills Summer handbook. The handbook is a compendium of the essential skills one must acquire in order to become a hiking, climbing or mountaineering leader. The purpose of the handbook is to present tried-and-true techniques that can be learned and mastered only through formal training. The entire guide is now available to purchase as a digital download. To purchase the guide please click here.
Previous extracts from the Guide can be found on our dedicated Skills page.
About the UIAA Alpine Skills Summer Guide
The UIAA Alpine Skills Summer guide was first published in 2015. Produced in collaboration with the Petzl Foundation, the guide and has been well received worldwide and is currently available in five languages. To mark the launch of a digital version of the publication, the UIAA is running a series of articles from the guide designed to help hikers, climbers and mountaineers develop their skills and knowledge of the mountain environment.
The guide was developed specifically as a reference document for trip leaders and instructors of club and federations within the UIAA – an aide memoire for climbers and mountaineers who attend training courses delivered by instructors and guides who have gained qualifications accredited by the UIAA. Now open to the wider climbing and mountaineering world, the handbook’s four modules focus primarily on summer activities. However, a specific winter guide is currently in production.